The Newsletter plugin has only one database made of unique email addresses. Each address corresponds to a subscriber and can be connected to one or more lists.
Lists are very useful to target subscribers when you send a newsletter or to associate special services (for example, the Automated Addon). Here we will cover all the essentials you need to know to get started.
What's inside
- Lists behavior at subscription
- Private and Public lists
- Lists and multilanguage blogs
- Pre-assigned lists by language
- Pre-assigned lists
- Deleting a list
- Best practices and tips
- Adding more than 40 lists
Lists behavior at subscription
Subscribers can be associated with one or more lists in different ways:
- Subscribers can choose a list straight from the subscription form if you configured one or more lists to be shown during the subscription;
- With pre-assignment, from the Subscription/Lists page, where lists can be set to be pre-assigned to every new subscriber
- Automatically, if you are using one of the provided shortcodes that generate a subscription form, for example with the shortcode
[newsletter_form lists="1"], and the subscriber will be added to the list 1. Lists specified on shortcodes must be set as “public”. - Through the configuration of professional add-ons (woocommerce, contact form 7, wp user registration…) where the lists to be assigned can be set on the relative configuration pages.
Private and Public lists
Newsletter divides lists into two macro-categories: public lists and private lists.
Public lists allow users to control their preferences by selecting which list they want to be subscribed to either from the subscription form or by updating their profile.
With public lists you can invent many combinations, for example:
- Force the activation of a public list during subscription (see below) but make it changeable on the profile editing panel;
- Show lists during the subscription process so the user can activate them (but the subscription form becomes more complex);
- Setting lists modifiable only on the subscriber profile page to make the subscription form simpler and show the profile editing form on the welcome page, just after the subscribers confirm their subscription (inviting them to select what they want to receive).
On the other side, private lists give the administrator full control of the subscribers, as only the administrator can add or remove users from that list. This type of list can be used by the administrator as an internal classification method, and private lists are still available when targeting a newsletter.
For example, you can use private lists if have a premium newsletter and you want full control of the subscribers or if you want to target a special group of subscribers not allowing anyone to enter without your consent.
There is also another option, which is kind of in-between public and private lists: you can create a public list but decide not to show it on the subscription forms or in the user’s profile (in the previous versions of the plugin, this option was called “hidden list”).
Lists and multilanguage blogs
If you use WPML or Polylang, you can “switch” the administration side to one of your configured languages while in the lists management panel.
This way you can assign per-language names to your lists. For example, if you have a list named “Travels” and the blog is set up to have the languages English, Spanish, and Italian, you can translate that list to “Viajes” and “Viaggi”.
The correct list name is shown by the Newsletter on subscription forms.
Later, when you send a newsletter to subscribers in that list, you can combine the list selection with the language filter to send, for example, Italian content to those who are subscribed to that list and have the language set to Italian.
Pre-assigned lists by language
The lists configuration page offers a special feature useful under some circumstances. You can set a list to be automatically and forcibly assigned to a subscriber who completes the subscription starting from a specific language.
This feature is not designed to later target the subscribers by language, since there is a direct language filter when you select the receivers of a newsletter.
Instead, it is useful to bind the subscriber to a list by language when that list is attached to an Automated channel or an Autoresponder series. Those are much more complex scenarios that need special care and planning.
Pre-assigned lists
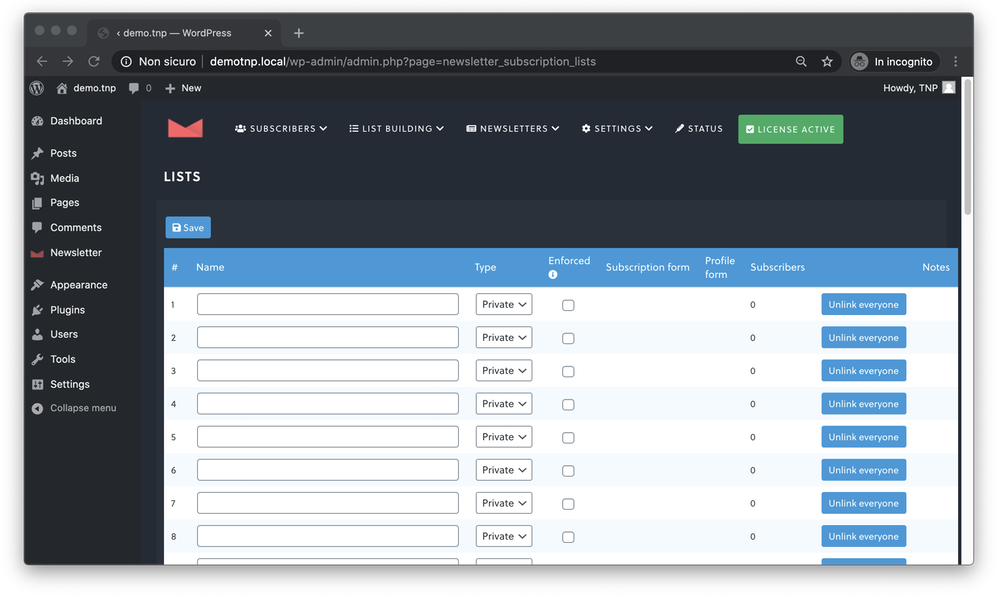
When a list is marked as “enforced”, every new subscriber is added to that list. This works either with private or public lists.
Subscription forms ending on a specific list
If you have more than one subscription form on your site (with different purposes) you should assign the subscribers to different lists, so you can then distinguish the origin of subscribers and you can target them separately.
Let’s say for example that your site has some different sections: outdoor news and sports news. You should create two lists (e.g. sport and outdoor), make them public, and, for example, set the option “show on personal profile”.
At this point, you can create two landing pages one asking to subscribe to the sports news and the other to the outdoor news and you can add to each page a subscription form with “enforced” lists, by using the following shortcodes:
[newsletter_form lists="x"]
[newsletter_form lists=“y”]
Where “x” and “y” are replaced by the reference number of each list (by default, you can have up to 40 lists). If you want to subscribe your user to both lists, just put them separated by a comma: [newsletter_form lists="x, y"]
Newsletter manages automatically double subscriptions and will update and merge the subscriber profile if a user subscribes on both landing pages.
More on subscriptions in different lists:
- Frictionless subscription flow and how to ask for more details
- Import subscribers and ask them to confirm
- Subscription forms and lists
Deleting a list
Lists cannot be deleted since subscribers are only linked to one or more lists.
A list can be “emptied” by removing the link between the list and all connected subscribers. That can be done directly from the Subscription/Lists management page.
If you need to definitively delete the subscribers connected to a specific list, you can use the Subscribers/Maintenance page where many massive actions are available.
To make a list disappear from selectors, add-ons, targeting panels just empty its name.
Best practices and tips
When you send an email, you should ask yourself some questions:
- What’s inside for the subscribers?
- Is it something they are interested in?
To be sure you reach your goal, it may be worth asking the subscribers their preferences. This operation will tell you exactly what to send. Subscribers can use the lists to express their interests and you can use those preferences to send targeted emails.
Let’s give some examples.
On a software product-oriented blog, you could set up three preferences:
- product updates
- developer channel
- tutorial and use cases
To the users in list #1 you’ll send everything related to updates, bug fixes (ready to be installed), new features, and so on.
To those in list #2 you’ll send technical information. Those who use the product as developers should have technical skills to understand the content.
To users within list #3 you’ll send tips, tutorials, and examples to get the best from your product.
When you need to promote something related to your product, for example, a promo code or a complementary product, you can send an email to all those lists. It is not necessary to create a fourth list merging the first three. Or you can send the update only to a couple of lists, for example, lists #1 and #2. The Newsletter plugin will take care to merge the subscribers from both lists. Visit the Targeting page and the Extra Profile Fields and Profile Fields Targeting page to find more information about this topic.
Important notes
- Subscribers can modify their preferences on the profile edit page. On every message, you should care to add this tag
{profile_url}(which converts to a list on the profile page) inviting the receivers to modify their profile if needed. Read more about profile pages. - Multilanguage. To understand the multilanguage setup (available when you use WPML or Polylang), please refer to the multilanguage documentation page.
- If you create a new list, you can simply mail your subscribers and invite them to activate that list on their profile page if they are interested. It is not necessary to create a different list or make them subscribe again.
- Retargeting. Lists can be used for retargeting. With the Reports Addon, you can easily select a subset of targeted subscribers who opened or clicked your newsletter and put them in a temporary list to send a second email only to those interested users
- Set/unset lists. If you want to set or unset massively a list, you can easily do that by using the Subscribers/Maintenance page. On that page, you can perform a wide range of operations and also move users from one list to another.
Adding more than 40 lists
More lists. Newsletter gives you by default the chance to have up to 40 lists. If you want more, you have to modify your wp-config.php, and you should add this code.
define('NEWSLETTER_LIST_MAX', X);
Where ‘x’ is the number of lists you want.
Please be sure to deactivate and reactivate the Newsletter plugin every time this value is changed.
No data will be lost and lists will be converted into database columns. You should avoid getting over 100 lists.