Use the forum to discuss or ask for help, thank you!
In this section we will consider in detail how to create and send newsletters. This is the heart of our plugin!
There are several topics that we must consider to let you gain the most out of your newsletters:
- Newsletter creation and configuration: themes and responsive drag&drop composer;
- How to compose the message
- Sending tests
- How to select the target (subscribers) and send the newsletter
- How to track the message: opens and clicks
- Online versions of your newsletters
Let’s start!
1. Newsletter creation and configuration: Themes
On this section we will concentrate on themes. We decided to dedicate a specific page just to the responsive composer, check it out here.
It is very easy to create a newsletter. Just access your WordPress dashboard and click on Newsletter. Here, on the menu at the top of the page, find “Newsletters” and click on “Create Newsletter”.
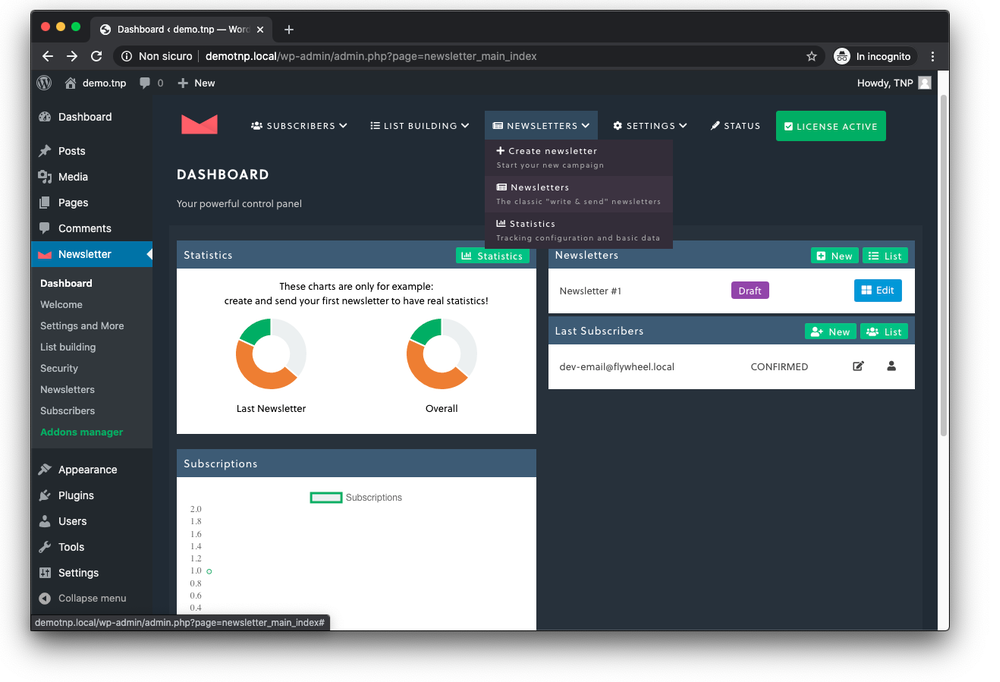
At this point, as you can see on the image below, you have three options: using the Responsive Drag and Drop Composer, creating your newsletter with Raw HTML or selecting a theme.
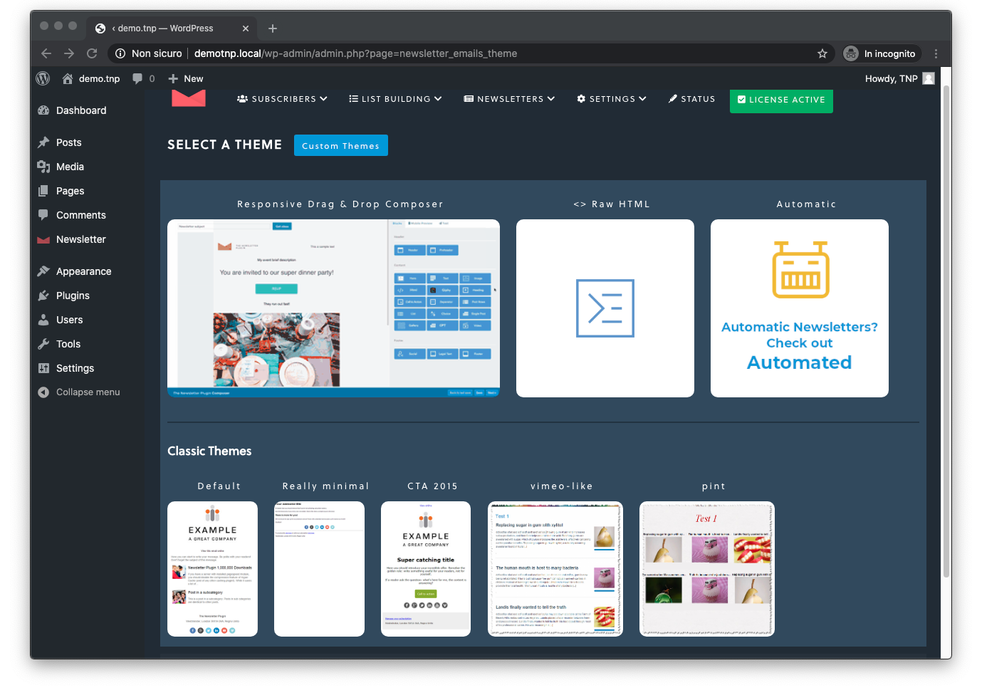
Themes allow you to modify substantially your messages, by adding some graphic features or adding extra content. To start creating a newsletter, just select a theme and modify it, there are different options and templates available.
A theme can be personalized with messages, colors and so on. When you change the theme, just click on the “refresh the preview” button to see how your email will be displayed.
Since theme settings can be complex, your options and edits will be saved and reloaded when you compose a new message with the same theme. In this way the translation of fixed labels (like the opening a closing text) will not be lost.
A theme produces two different messages: one in HTML format, with color, fonts and images and another in plain text. Almost every email client is able to show HTML emails, but a textual version (even minimal) is useful to reduce the spam issue.
It’s not not possible to produce a textual versione directly from the HTML one. You should write it by hand or use the content generated by a theme.
To test the theme-generated emails, you can send a test email to all the “test subscribers” (a test subscriber is a regular subscriber withe the “test” flag on. You can find this option inside the subscriber’s management panel).
Themes can be customized and created by you, if you have some programming skills. After you finished to configure the theme, push the “next” button: a real email message is generated and you will enter the editing panel.
Important note: themes can not be changes once the email is generated: if you change your mind, you should delete the email and create a new one.
2. How to compose the message
Composing a newsletter with our themes is as easy as writing a blog post. The editor is similar to the WordPress editor.
One important aspect when dealing with a newsletter is the use of tags, that make your emails dynamic. Tags are replaced by delivery engines just before sending an email to a subscriber. The process works as follows:
- The engine takes the email message (html and text) and the subject
- It takes the next subscriber (with all his data: name, email, sex, profiles, …)
- It replaces on the message and subject the tags referencing user fields
- It sends the message
The available tags for an email are listed below. Note that, depending on your configuration and on the information you collected about your subscribers, some tags may not work.:
{name},{surname}respectively the first name and the last name. If you collect only the name, as many do, use only the {name} tag;{email}the subscriber email;{profile_N}the collected profile value from N to 20 (or the number configured in wp-config.php);{date}the current date with WordPress configured format;{date_[format]}the current date formatted with the “format” string (no square brackets) as per date() php function;{unsubscription_url},{unsubscription_confirm_url}the cancellation links. The first tag brings the user to a cancellation message, while the second directly unsubscribes the user, without further questions. Read more about cancellation here.{email_url}url to the online version of this email;
Tags which convert to a link can be used directly in the text and they will be added “as is” (emails clients usually convert them to clickable text) or as “href” attribute of a real html link. To create the latter, simply select the piece of text that should be linked, click the “chain” button on editor toolbar and insert the tag.
3. Sending tests
When the test button is used, the message is temporary finalized and sent as a real newsletter to those subscribers marked as “test” subscribers.
Once your newsletter is good to go, it is a good practice to send a test email to check if everything works properly. Click on the “test” button and check your inbox.
4. How to select the target (subscribers) and send the newsletter
Once your newsletter is ready, you can access the sending options tab. On this page you can choose the target of your newsletter. It could be a specific list or just someone inside a list. Read more about targeting here.
After selecting your audience, you are ready for the final checks and to send the newsletter. In particular, you can see the preview of your message and you can choose among some advanced options. Here, you should include a minimal textual version of your newsletter, as a good anti-spam procedure.
At this point, you are ready to send the newsletter or to schedule it. Remember that emails are not sent all in once. The delivery engine sends emails following your emails per hour settings (you can change this value from the main configuration panel). Keep in mind that your provider may impose a limit too.
Once you start the delivery, you can follow its status from the dashboard of Newsletter.
Important note: Sometimes you can find a message or a newsletter with a “sent” status but with a higher or lower number of sent emails compared to the number of receivers. This happens when subscribers are added or removed from lists while the sending process is running. Only big discrepancies should be interpreted as a problem.
5. How to track the message: opens and clicks
Newsletter provides some tracking features for free, and more detailed statistics are available with the premium version of the plugin, which includes the Reports Addon. Tracking is extremely useful to understand if people are engaging with your contents by reading your emails and clicking on links.
You can enable the tracking from the advanced settings before sending your email. If you decide to activate the tracking option, the links inside the newsletter are transformed and Newsletter will be notified when the subscriber clicks on them. Moreover, the message is completed with an hidden image to count the “openings”.
6. Online versions of your newsletters
The HTML part of your messages is very similar to a simple web page. Therefore, the same layout and content can be shown in a browser instead of inside an email client, By adding the tag {email_url} you add a link to a web version of your email.
Here you are a few things to keep in mind:
- Newsletters can be set as private. This means that they should be seen just by subscribers who received them. Hence, the link to the online version contains a token to identify the subscriber, who must have the “confirmed” status to see the content (missing, bounced or unsubscribed people can not see the email).
- When the newsletter is not marked as private, it can be seen by anyone. To view it online, there is a link similar to the following: https://www.yourdomain.com/?na=v&id=NN, where NN is the newsletter ID. The public URL can be found by pressing the “view” button in the newsletter list.
- If the newsletter is in draft status, it can be seen with the public link only by logged users with at least the editor role (otherwise anyone could be able to read your newsletters!)
- Private newsletters that have a “sending” status can be seen with the online link just by those subscribers who have already received it.