This addon integrates Newsletter with Contact Form 7, one of the leading free contact form plugins for WordPress.
Contact Form 7 allows the creation of forms with simple but powerful shortcodes to collect any kind of data (text, preferences, …). Forms can be easily published on standard WordPress pages or posts, without any effort.
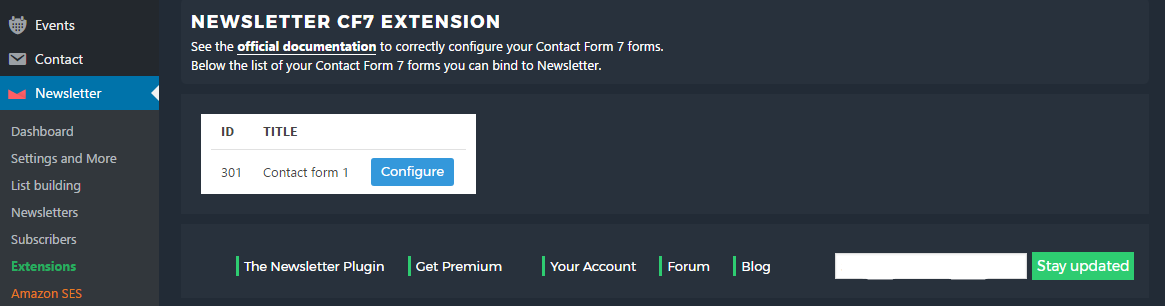
Installing this Contact Form 7 Extensions for Newsletter, you can easily offer a newsletter subscription option to any forms and get the double action to be contacted and to start a subscription process.
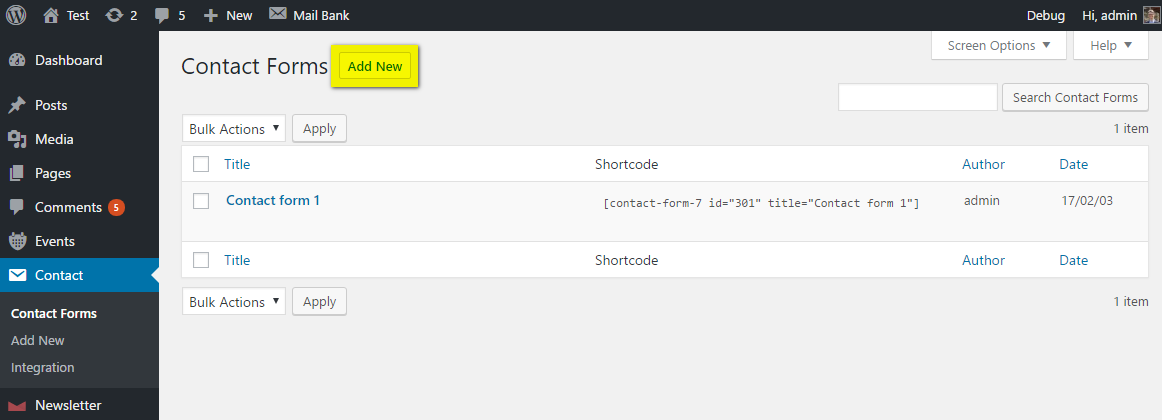
Create your contact form page
You can follow the Contact Form 7 documentation and examples, but shortly:
- on Contact Form 7 panels create a new form with all required fields (see picture below)
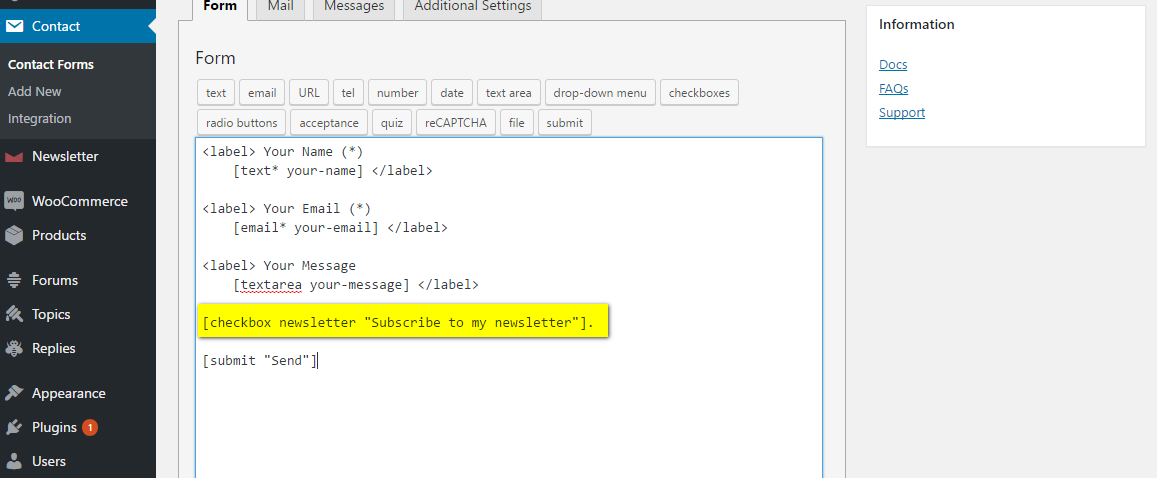
- Add a special contact form field
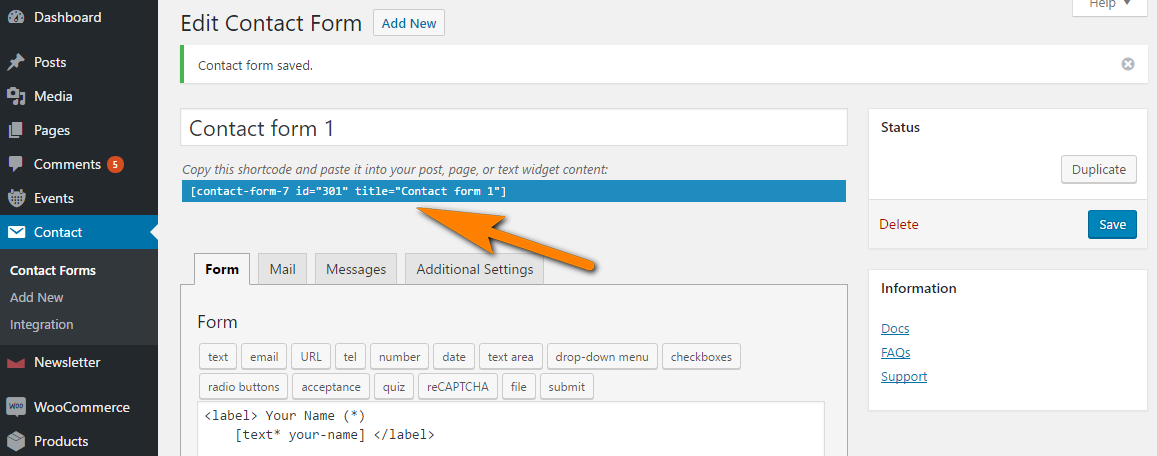
[checkbox newsletter "Subscribe to my newsletter"](this is the only required change on the contact form to integrate with Newsletter – see below how to configure the subscription process) - Copy the shortcode which reference your contact form
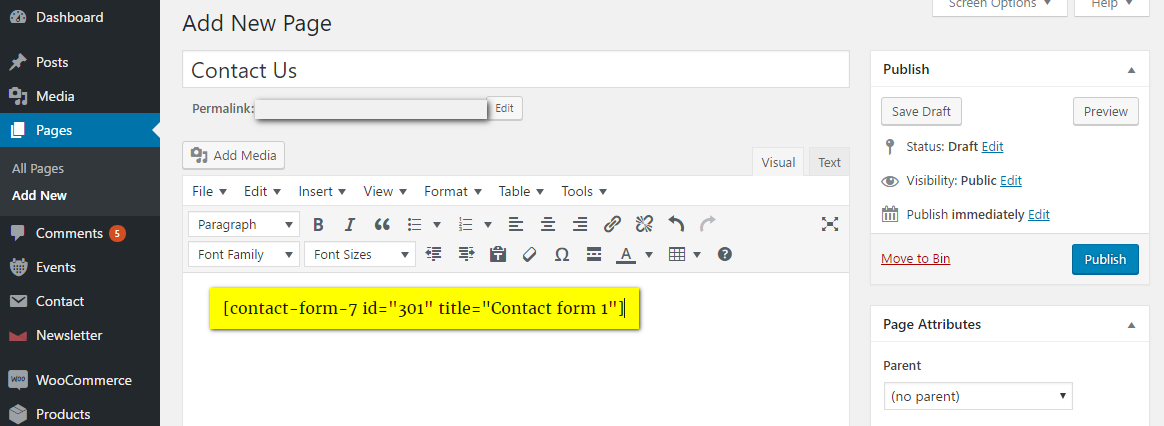
- Create a contact page in your blog and add the Contact Form 7 shortcode
- Configure Newsletter to intercept the form (see next chapters).
If you already have your contact form in place the only required step is the step 3.
Privacy checkbox
The privacy checkbox you may want on contact form 7 is NOT related to the checkbox to become a subscriber. The privacy checkbox can be added in your contact form 7 form following their instructions and that will be the acceptance of your privacy rules.
The newsletter checkbox you can add following the instruction above is to collect the consent t make the user contacting you even a subscriber.
Make the checkbox pre-checked
To force the subscription checkbox to be pre-checked use this syntax:
[checkbox newsletter default:1 "Subscribe to my newsletter"]
where “1” means “pre-check the checkbox number one” and since we have only one option it will check the newsletter checkbox. You can find more on Contact Form 7 documentation.
Note: the default:1 must be inserted before the checkbox label and just after the checkbox field name newsletter.
How it works
The extension listens to form submission and checks whether the visitor asked to subscribe, extracts his email and starts a regular subscription process (with a confirmation email if Newsletter is configured on double opt-in mode).
You need to teach Newsletter how to match the contact form fields with the standard subscriber’s fields, see below.
The extension does not interfere nor modify Contact Form 7 plugin code, its behavior or any created forms!
How to configure
The quick way:
- Change your contact form adding a checkbox:
[checkbox newsletter "Subscribe to my newsletter"](if not already done) - On this extension administration panel, find all the CF7 contact forms and select the one you want to integrated
- Edit the form integration configuration and match the form fields with the subscriber fields
- Pay attention specially to the email field and the subscription indicator field
For each form, you can select which form field is the email to subscribe and which field is the “check box” used to offer the newsletter subscription.
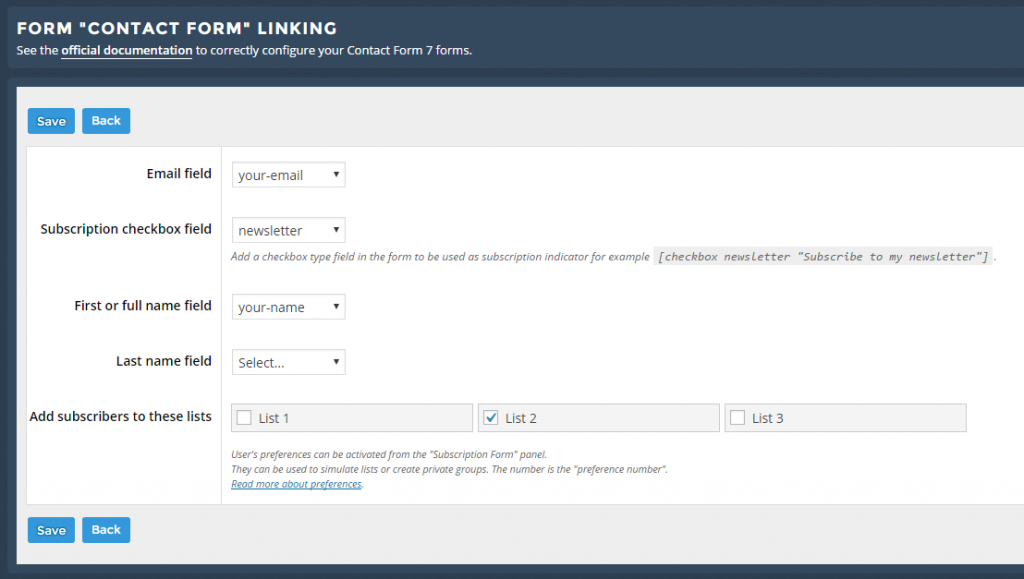
That latter field should be added to every form you want integrate with Newsletter. Since every form has its own layout, field order and so on, Newsletter does not change your original Contact Form 7 forms.
Anyway, adding a subscription check box to a Contact Form7 form is ultra-easy. Just insert this short code:
[checkbox newsletter "Subscribe to my newsletter"]
You can change the name (“newsletter”) and the label as you prefer. Once the form is adapted, the extension will find that new check box and you can set it as “marker” for the subscription. See the pictures below for a simple example (they may differ from the actual Contact Form 7 or extension panels).
More on Contact Form 7 check boxes can be found here.
Lists
Each form linked to Newsletter can be configured to collect subscriptions in one or more lists. Those list can even be private (most of the times you will use private lists for that kind of subscriptions).
Adding subscribers in a specific list let you to later target them when sending a standard newsletter or with an automated newsletter.
Subscriber Selectable Lists
Since version 4.0.9
If you want to show in the contact form one or more checkboxes to be matched with Newsletter lists, add them in this way:
[checkbox list_1 "My list number 1 label"]
[checkbox list_2 "My list number 2 label"]
and change the number of the list name to match the Newsletter list number you want to add.
You can only refer lists that are public: if you specify a list number which match a private list, the checkbox is anyway shown, but not considered by Newsletter when creating the subscription.
List selection as dropdown
Contact form generates the drop down fields in a format which is not usable to create a list selection as a dropdown. This is a known problem of CF7 which does not generated drop down selectors with value-label pairs.
Privacy check box (for EU laws)
Some countries require an explicit confirmation for the subscription, with a check box initially unchecked and which must be checked to proceed. You can use two different approaches:
- Using as newsletter subscription label something like “I want to subscribe your newsletter an I accept your privacy statement”
- Adding a second mandatory privacy check box using the Contact Form 7 syntax
[checkbox* privacy "I accept the privacy statement"]
The privacy checkbox of Newsletter cannot work inside Contact Form 7 forms so you can add it manually if required.
Subscriber’s custom fields
Custom fields can be mapped as well, but you should care about the max length supported. A custom field can keep only 255 characters, so your form fields should be configured to accept this length at maximum. Particular care should be taken when using textarea fields.